Installation and Maintenance Guide for Electric Screw-Type Window Openers
Electric screw-type window openers are efficient and secure automated devices widely used for high windows, heavy skylights, and windows that require remote control. They work by using a motor to drive a screw, allowing for the smooth opening and closing of windows. To ensure their long-term, stable operation, proper installation and regular maintenance are crucial. This guide will provide detailed instructions on the installation steps and key maintenance points for your electric screw-type window opener.
Preparation Before Installation
Before you begin the installation, please make sure you have completed the following preparations:
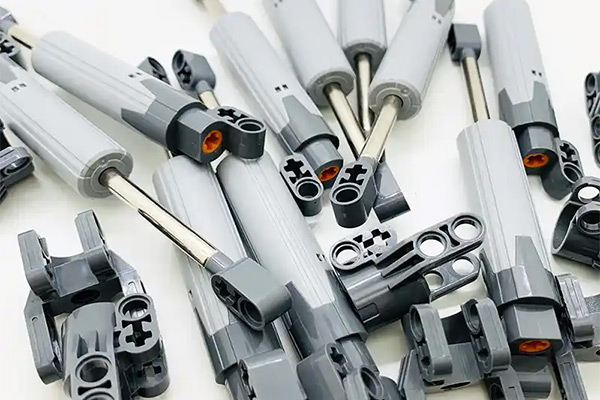
Check all parts: Open the packaging and check the parts list. Ensure that all components, including the opener body, brackets, screws, power cord, and control switch, are complete and undamaged.
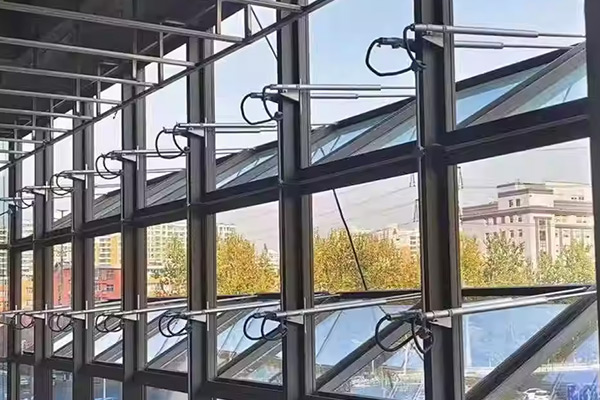
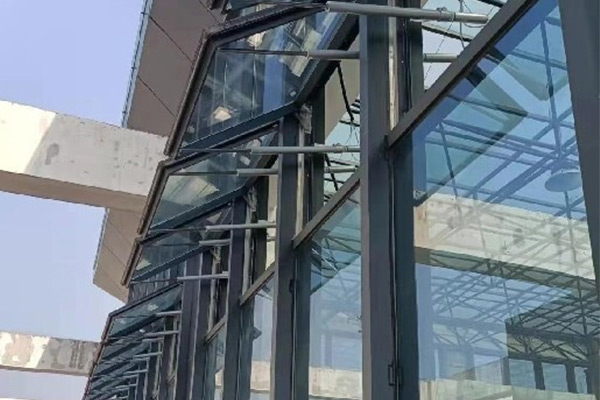
Confirm the installation location: Based on the window type and opening method (top-hung, center-pivot, bottom-hung, etc.), determine the best installation position for the opener. The opener should typically be installed on the top or middle of the window frame to achieve optimal thrust.
Prepare your tools: Gather common tools such as an electric drill, screwdrivers, a tape measure, a pencil, and a wrench.
Cut off the power: Before performing any installation or wiring, be sure to turn off the power to the relevant circuit to prevent electric shock.
Detailed Installation Steps
1. Measure and Position
First, use a tape measure and a pencil to mark the installation positions for the window opener and its brackets on the window frame. Ensure the direction of the screw's thrust aligns with the opening direction of the window. When positioning, consider the window's opening stroke to avoid it being too long or too short.
2. Install the Fixed Bracket
Securely fasten the fixed bracket of the opener body to the window frame using screws. If the window frame is aluminum alloy or steel, you may need to use self-tapping screws or expansion bolts. Ensure the bracket is installed firmly without any shaking.
3. Install the Opener Body
Align the opener body with the installed fixed bracket and secure it with screws or pins. In this step, make sure the opener's connecting rod (or thrust arm) can connect smoothly to the window sash.
4. Connect to the Window Sash
Fasten one end of the opener's thrust arm to the connection point on the window sash. This connection point is usually a special hinge or connecting plate. Ensure the connection is tight and that the thrust arm can move smoothly without getting stuck when the window opens and closes.
5. Wire the Circuit
Following the wiring diagram of the opener, connect the power cord to the opener's terminals. Typically, there will be a positive power line (red), a negative power line (black), and control signal wires. Connect the control switch (such as a wall switch or remote receiver) to the corresponding wires. Double-check the connections carefully to avoid mistakes.
6. Power On and Test
After all mechanical and electrical connections are complete, restore the power. Use the control switch or remote to test the opener's functionality. Observe whether the window opens and closes smoothly and if there are any unusual noises. If you encounter any issues, turn off the power immediately and check the wiring and mechanical connections.
Daily Maintenance and Troubleshooting
Proper installation is the foundation, but regular maintenance is key to ensuring the opener's long-term, stable operation.
1. Regular Cleaning
From time to time, use a clean, soft cloth to wipe down the opener's casing and thrust arm, removing any dust and dirt. Avoid using corrosive cleaning agents.
2. Lubrication
For moving parts like the screw and thrust arm, you can apply a small amount of grease every six months to a year. This will effectively reduce friction and extend the opener's service life.
3. Check Connections
Regularly inspect the screws and connectors between the opener and the window frame and sash for any looseness. If you find any, tighten them promptly.
4. Troubleshooting
If the window opener stops working or operates abnormally, you can perform a preliminary check based on the following:
Completely non-functional: Check if the power is on, if the control switch or remote is working, and if any terminal connections have come loose.
Slow or stuck operation: Check if the window itself is deformed or stuck, if there are any foreign objects on the thrust arm, or if the screw needs lubrication.
Abnormal noise: If you hear unusual friction sounds, the screw or internal gears may lack lubrication, or the installation position might be off.
If you are unable to resolve the issue after a preliminary check, please contact a professional repair person or the equipment supplier. Do not attempt to disassemble the unit yourself, as this may cause further damage.
By following these installation and maintenance guidelines, you can ensure your electric screw-type window opener operates safely and efficiently, bringing more convenience to your life.